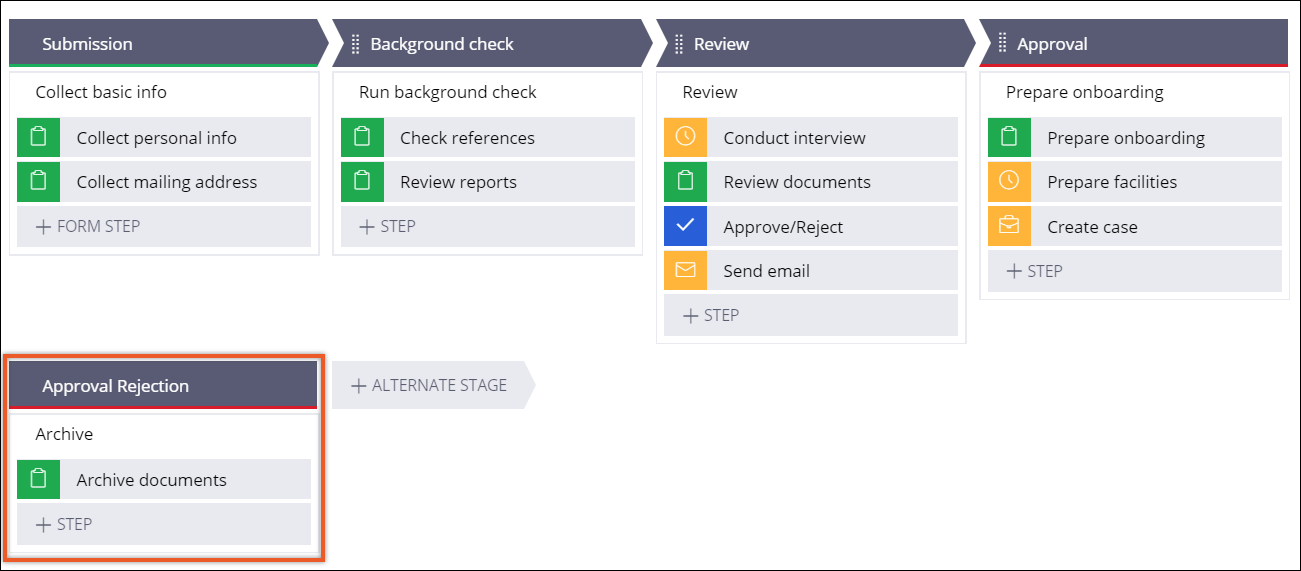
Creating an alternate stage
Ensure that you can resolve a business process when an exception occurs by adding an alternate stage to the case life cycle. For example, you can use an alternate stage to process cases that managers reject.
- In the navigation pane of App Studio, click Case types, and then click the case type that you want to open.
- On the Workflow tab, click Life cycle.
- Create an alternate stage:
- To create a new alternate stage, in the Case life cycle section, click Alternate stage.
- To convert a primary stage to an alternate stage, on the menu next to the stage name, click Set as alternate stage.
- Decide how the case proceeds after all processes in this stage are complete:
- To let the case worker decide which stage the case enters after this stage, in the stage property pane, select Wait for a user action.
- To resolve the case, in the stage property pane, select Resolve the case, and then configure details of case resolution. For more information, see Configuring a case resolution.
- Click Save.
Previous topic Creating a primary stage Next topic Defining the entrance criteria for a stage