Adding a multistep form to a stage
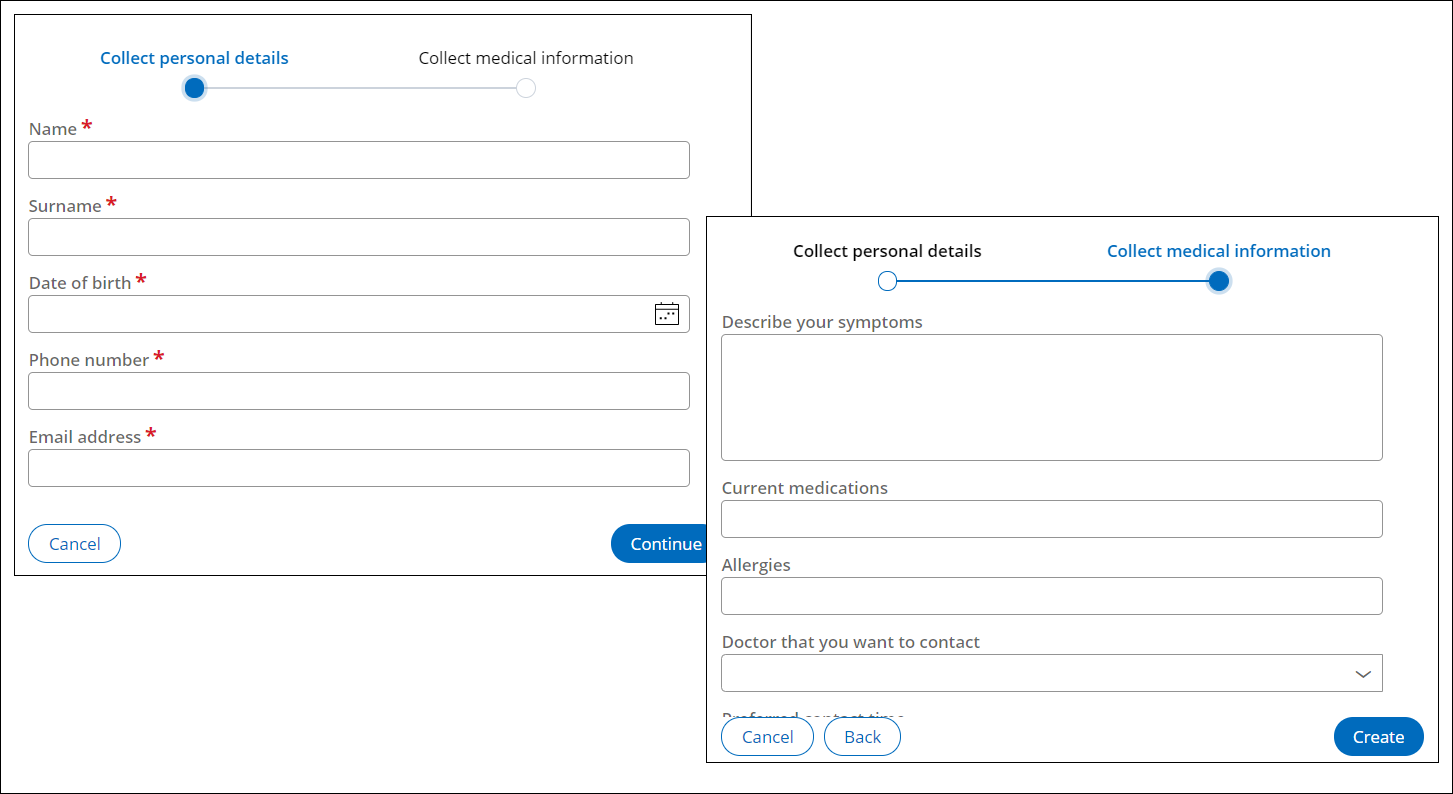
Break a single assignment that captures many fields into multiple focused and concise screens by adding a multistep form to a stage. You can add both a sequential process and a parallel process as a multistep form.
For example, you can ask users to enter their personal details on one screen, and then describe their medical condition on the next screen.For relevant training materials, see the Multi-step forms topic on Pega Academy.
- In the navigation pane of App Studio, click Case types, and then click the case type that you want to open.
- On the Workflow tab, click Life cycle.
- In the Case life cycle section, in a stage, click .
- In the text field, replace the default process label with a descriptive name.
- On the General tab, in the Start
process section, define the condition to start the
process:
- To start the process when the case reaches this stage, select Always.
- To choose a custom condition that determines whether the process starts, select Custom condition, and then select the condition.
- To reuse an existing condition, select Existing condition, and then select the condition.
- In the properties panel, in the Route to list, identify the user
or team that performs the task:
- To assign the task to the user who last updated the case, select Current user.
- To assign the task to another user in your application, select Specific
user, and then configure the user parameters.
You can assign the task to a user by user name, a user by user reference, the reporting manager of the user who last updated the case, or a case participant.
- To assign the task to a team that shares a work queue, select Work queue, and then select a team.
- To automatically assign the task to a user with the appropriate availability,
skill set, or workload, select Use business logic, and then click
the Configure business logic icon.
For more information about configuring business-based routing, see Assigning users automatically at run time with business logic.
- In the Template section, select the navigation type in
the multistep form by clicking Change, and then choosing
the navigation template.The default setting is horizontal navigation.
- Add a step to the multistep form by clicking Form
step.For more information about configuring steps, see Steps in a case life cycle.
- In the text field, replace the default step label with a descriptive name.
- Click Save.
Configuring advanced options for a multistep form
To ensure that you deliver an application that precisely meets your business requirements, define how a process that is a multistep form behaves by configuring advanced starting options.
For example, you can set a status that a case enters when a process starts, and then define a user to complete the process.- In the navigation pane of Dev Studio, click Case types, and then click the case type that you want to open.
- In the Case life cycle section, hover over a multistep form in a stage, and then click the Configure process icon.
- Click the Open process link, and then, on the canvas, double-click the Start shape.
- Perform any number of the steps from 3 to 11 in Creating a screen flow.
Previous topic Adding a parallel process to a stage Next topic Defining conditions for starting a process