How to join classes for reports
Using the Join feature, you can include data from exposed columns in multiple (concrete) classes in your reports.
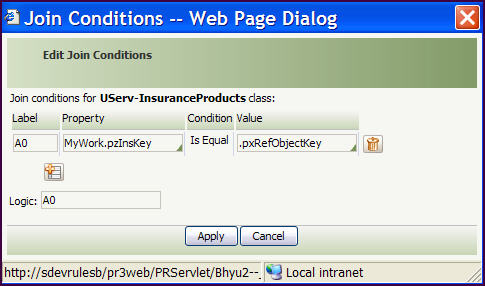
To join classes, first associate a prefix with a class, then use the join condition (Is Equal) to link the primary key of the class with the open column of the target class. For example, to join the assignments class with a work object class in the Work- class, link the pxRefObjectKey property in the assignments table with the pzInskey property in the work object class.
Each property in the work object class is then accessible in the other tabs by using the syntax: prefix.property.
Note: The database columns discussed in this article must be exposed to be included in the report. Use the Modify Database Schema Wizard to check for exposed columns. Choose Tools > Database > Modify Database Schema.
Suggested Approach
- Create or edit a new list or summary view rule.
- Open the Join tab.
- In the Class Join section, enter a text string in the Prefix field.
- In the Class Name field, choose the primary class from the SmartPrompt list.
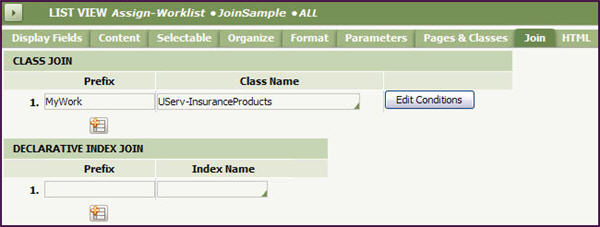
- Click Edit Conditions.
- Enter a text value in the Label field. Use this value to identify the row when logic is applied.
- In the property field, type in the Prefix value from the previous form. Then choose a property from the primary class.
- In the Value field, choose the property to be joined from the secondary class.
- To join additional classes, add additional rows using the same procedure.
- In the Logic field, enter the row labels using AND or OR conditionals and ( ) for grouping.
The figure shows the work object class being joined to the assignments class using their primary key properties.
- Click Apply.
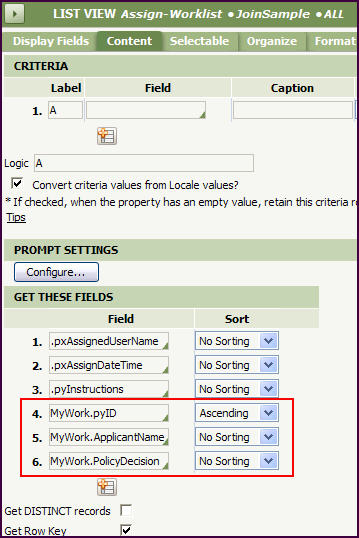
- Open the Content tab.
- In the Get These Fields section, enter properties from the primary class, as usual, and properties from the secondary class using the syntax, prefix.property.
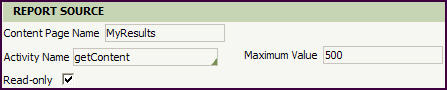
- In the Report Source section, enter a text string in the Content Page Name field.
- Enable Read Only.
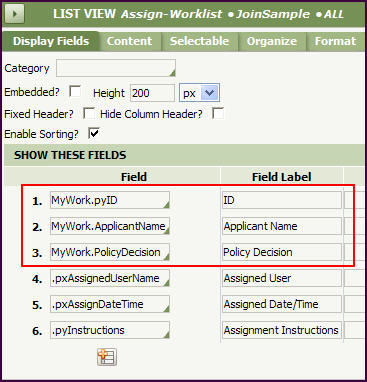
- For list views, open the Display Fields tab and enter, using the same syntax, the properties that you want to display in the report. For summary views, enter the appropriate information in the DrillDowntab.
- Open the Organize tab and disable Customize View Button and the Edit? box next to the Excel Button field.
- Click the Save toolbar button..
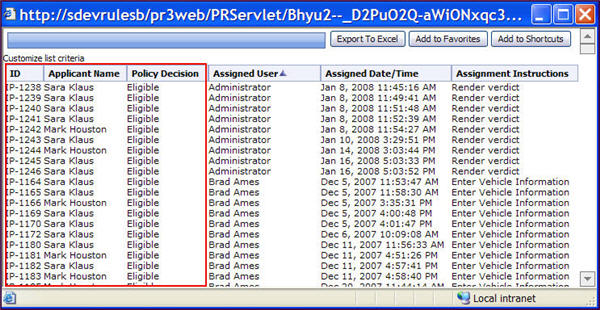
- Click the Run toolbar button . The view contains columns of data drawn from the joined class.
Related Topics
Twenty-seven commonly used JOIN conditions for list view and summary view reports