Creating a volume constraint
Specify whether volume constraints should be applied to actions as a group, or whether each action should be evaluated separately in situations where a customer is eligible for multiple actions.
Pega Customer Decision Hub
- In the Pega Customer Decision Hub portal, click .
- Click Create.
- In the Short description or title for this record field, enter the name of the volume constraint.
- In the Categorization section, select either the Issue or Group checkboxes, or leave both blank.
- In the Context section, select a specific context.
- In the Add to ruleset section, select your application implementation ruleset.
- In the Current work item section, select a work item to associate.
- Click Create and Open.
- In the Edit Volume Constraint window, in the How should
multiple actions for a customer be treated? section, select one of the
following radio buttons:
Editing a volume constraint 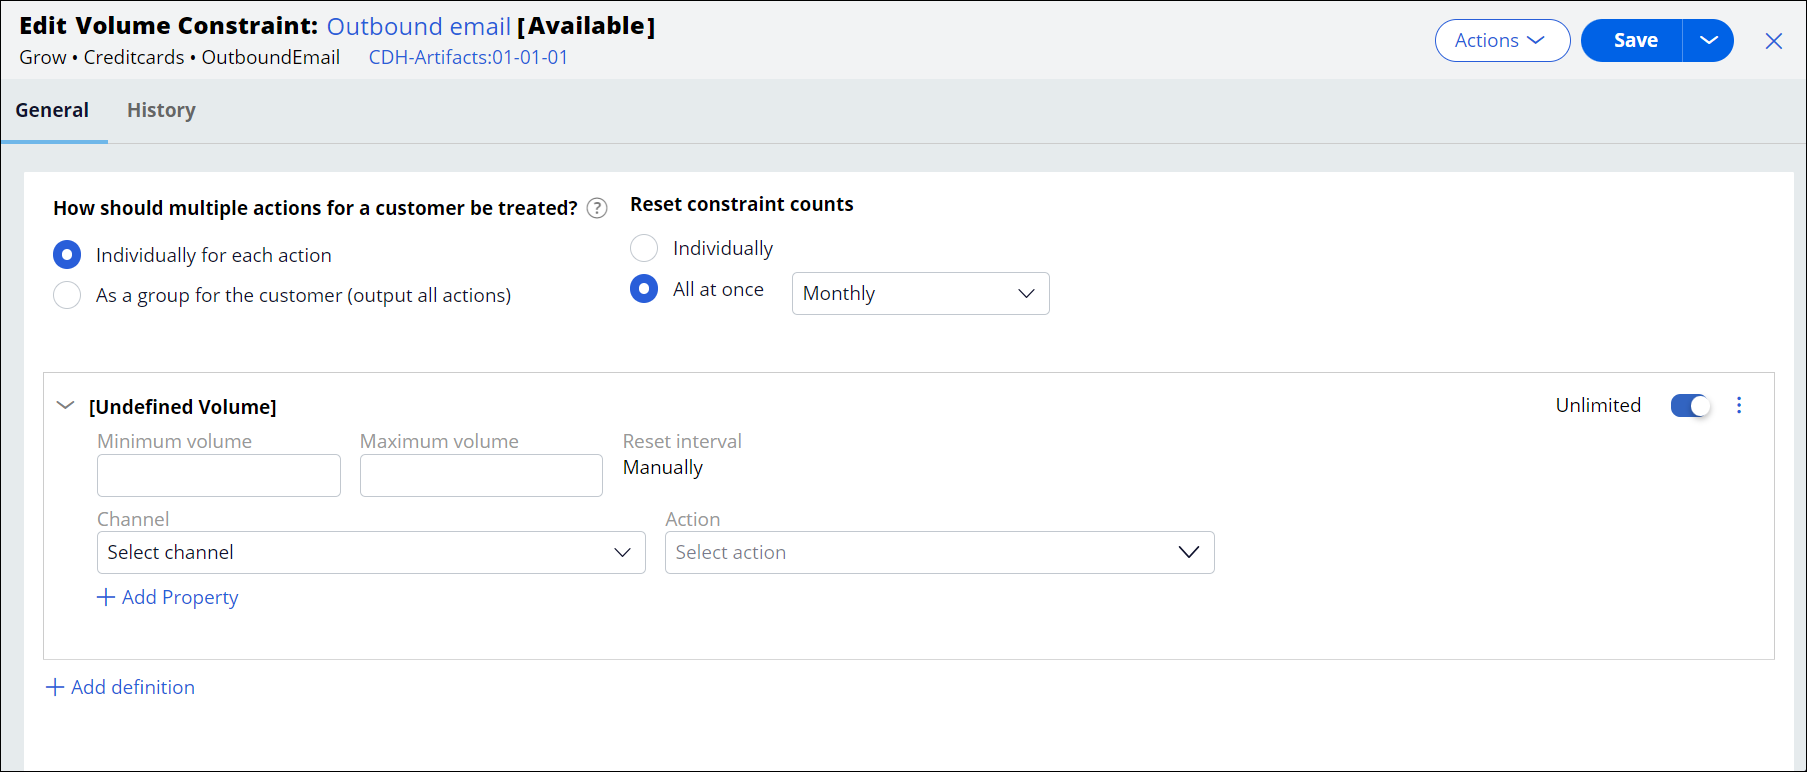
- Constrain each action individually
- Select this option to yield one top ranked action or action bundle that passes constraints for each customer.
- Constrain as a group for the customer (output all actions)
- Select this option to present all eligible actions for a customer. This option is intended for specific use cases, for example customer service.
- In the Reset constraint count section, select whether constraint
counts should be reset individually or all at once.If you choose All at once, in the Reset interval list, select an interval period (for example, Weekly), or set the constraint count to reset manually or each time it is accessed.
- Optional: To add a new volume constraint condition, click Add definition.
- In the Minimum volume field, enter the minimum volume constraint.
- In the Maximum volume field, enter the maximum volume constraint.
- If you selected Individually in the Reset constraint
counts section in step 10, in the Reset interval list,
select an interval period (for example, Weekly), or set it to reset
manually or each time it is accessed.If you selected All at once in the Reset constraint counts section in step 10, the Reset interval list will be populated with your selection from step 10.
- In the Channel list, select a channel.
- In the Action list, select an action.
- Click Add property, to select a property from the list.
- In the Value field, enter a value.
- Click Save to save the volume constraint.
Previous topic Avoiding overexposure of actions with volume constraints Next topic Configuring volume constraint for an outbound run