To add data to your data model more quickly, import data from a .csv file.
Note: You cannot import data by using a .csv file if you are using an Apache Cassandra
database.
Import the .csv file that you exported into the target patient
data type.
-
Upload the file.
-
In the navigation panel of
App Studio, click Data.
-
Click a data type.
-
On the Records tab, click Import.
-
In the Purpose list, select Add
only.
-
Click Choose File.
-
Navigate to your .csv file, and then click Open.
-
Click Next.
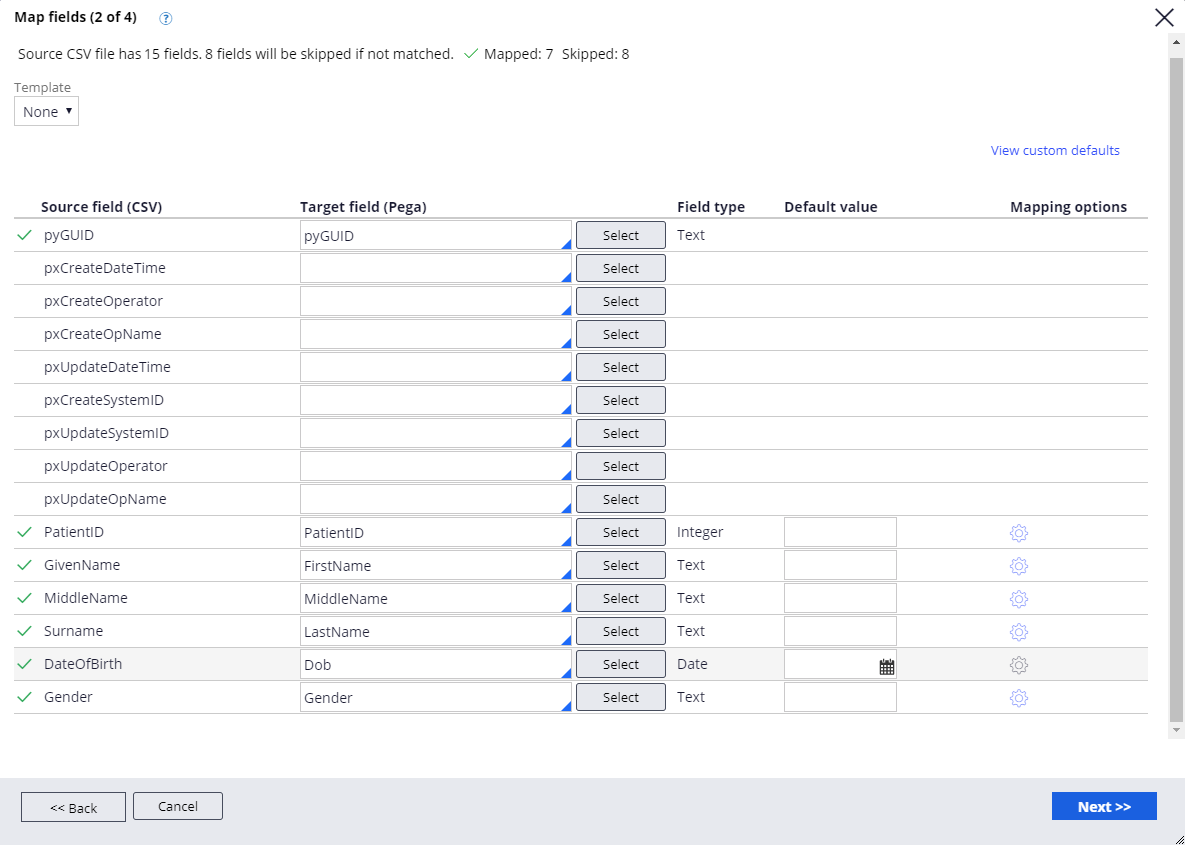
Map the columns the source and target columns as shown in the following
figure:
-
Map the columns in your file to the fields in the data type.
-
In the Target field column, select the fields in your data
type corresponding to the fields in the .csv file that appear in the Source
field column or click Select to display a dialog
box for searching and filtering fields.
Note: You can select top level and embedded properties as targets for import.
-
Click Next.
- Optional:
If you are using a dashboard gadget in your end user portal that displays in-progress
data imports and recently completed data imports, enter a short description that describes
the import.
-
Click Start validation.
-
Click Continue import.
You can close the dialog box for the data import process. The process runs
asynchronously and is visible on your worklist.
-
Click Finish.