Accessing and testing Pega DX API Version 2
Familiarize
yourself with Pega DX API Version 2 (V2) and learn to use it successfully by exploring
what you can achieve with individual endpoints.
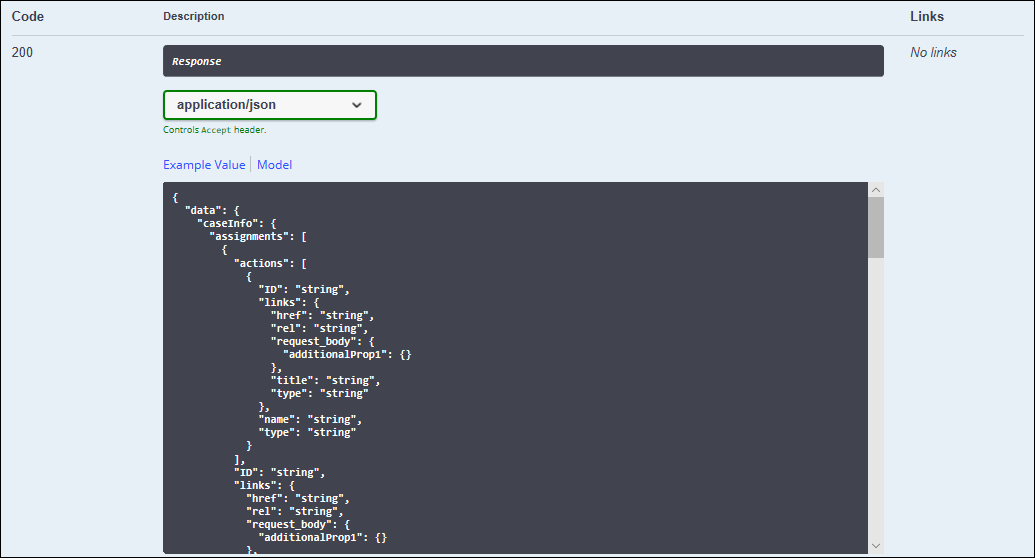
By generating a sample
response to a simulated endpoint call, you can better understand how the endpoint works and
what types of responses to expect.
Before you begin: Create an OAuth 2.0 client registration data instance and
save the credentials to be able to test individual endpoints. For more information, see
Creating authorization for DX API tests.
-
Test the endpoint:
- Click Try it out!.
- If the endpoint requires additional parameters, enter the information in the required fields.
For example: If you want to test the GET /cases/{caseID}/attachments endpoint, which retrieves a list of attachments in a specific case, after you click Try it out!, provide the case ID.- Click Execute.
Result: The system generates a response to the simulated query, as in the following example:Figure: Sample JSON response