Adding tabs to the summary panel
Help users gain instant access to case-relevant information in applications that are built on a traditional UI architecture by adding supplementary tabs to the summary panel.
Each tab displays the contents of a section that you associate with the tab. For example, you can create a section that lists all the dependencies of a case, and use that section as a tab to give case workers quick insight into related work. You can also add item counts to the tab to indicate changes that require attention.- In the navigation pane of App Studio, click Case types, and then click the case type that you want to open.
- In the work area, run a case by clicking Save and run.
- Complete the Create dialog box, and then click Create.
- On the case page, enter the design mode by clicking Design in the upper-right corner.
- Hover over the case header, and then click the Edit this
section icon.
Sample case header in design mode 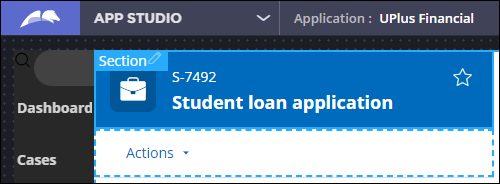
- In the properties pane on the right side of the window, in the Preview content (Grouped – tab) section, click the Add icon.
- In the section list, hover over the name of the section that you want to use as a basis for the new tab, and then click the Add to view icon.
- Close the Add pane.The system saves the changes automatically.
- Optional: To add counters that indicate the number of related items in a tab, configure
the tab section:
- Create a property that holds the count.For more information, see Properties.
- In the properties pane on the right side of the window, hover over the section that represents the tab, and then click the Edit this section icon.
- In the Container settings section, select the Include icon or value checkbox.
- In the Icon or value type field, select Property value.
- In the Property value field, select the property that holds the count.
- Click Apply.
- Create a property that holds the count.
Previous topic Customizing the case details section Next topic Adding action buttons to a case header