Connecting to Zoom
Collaborate with people by using secure messaging, file sharing, and video calling by connecting to Zoom in Pega Sales Automation.
Pega Sales Automation
Implementation Guide
Pega Sales Automation
Implementation Guide
- Enable Zoom in App Studio:
- In the navigation pane of App Studio, click .
- On the Microsoft Exchange tab, select the Microsoft Exchange calendar integration check box.
- Select the Zoom integration check box.
- Click Save.
- In Dev Studio, configure the authentication
profile:
- In the navigation pane of Dev Studio, click and search for and open the Zoom_QueryParameter parameter.
- In the Client configuration section, in the Client Identifier and Client secret fields, enter the related user information from your Zoom account.
- In the Endpoint configuration section, enter the
following information from your Zoom account.
- Authorization code endpoint
- Access token endpoint
- Redirect URI endpoint
- Click Save.
- Repeat step 2 for the Zoom parameter.When you connect to Zoom, you pass credentials and authorize by using the header parameter. When you connect to Zoom_QueryParameter, you pass credentials as a query string parameter in the URL. You can see the difference in the Advanced configuration section in the Send access token as field after you open each authentication profile.
- Connect to Zoom:
- In the header of Dev Studio, click .
- In the Connected Apps table, click Zoom_QueryParameter.
- In the Endpoint configuration section, next to the Redirect URL endpoint field, click Reset, and then enter the URL of your instance.
- Reset the redirect URL endpoint for Zoom.
- In the Zoom app credentials, in the Redirect URL for OAuth and Whitelist URL fields, paste the new URL after reset.
- In the Connected Apps table, next to the Zoom_QueryParameter name, click Connect.
- Enter your Zoom login credentials.
- Next to the Zoom name, click Connect.
- Enter the same Zoom login credentials.
- Optional: To test Zoom connection for other operators, configure Zoom credentials:
- Log in to the Pega Sales Automationapplication
with the operator that you want to use to test credentials and launch
the User portal.Use an operator with an active Zoom account.
- In the left navigation pane, click Appointments.
- Click Create appointment.
- In the Add Virtual Meeting list, select Add Zoom Meeting.
- Click Connect to Zoom, and then enter your login credentials.
- Log in to the Pega Sales Automationapplication
with the operator that you want to use to test credentials and launch
the User portal.
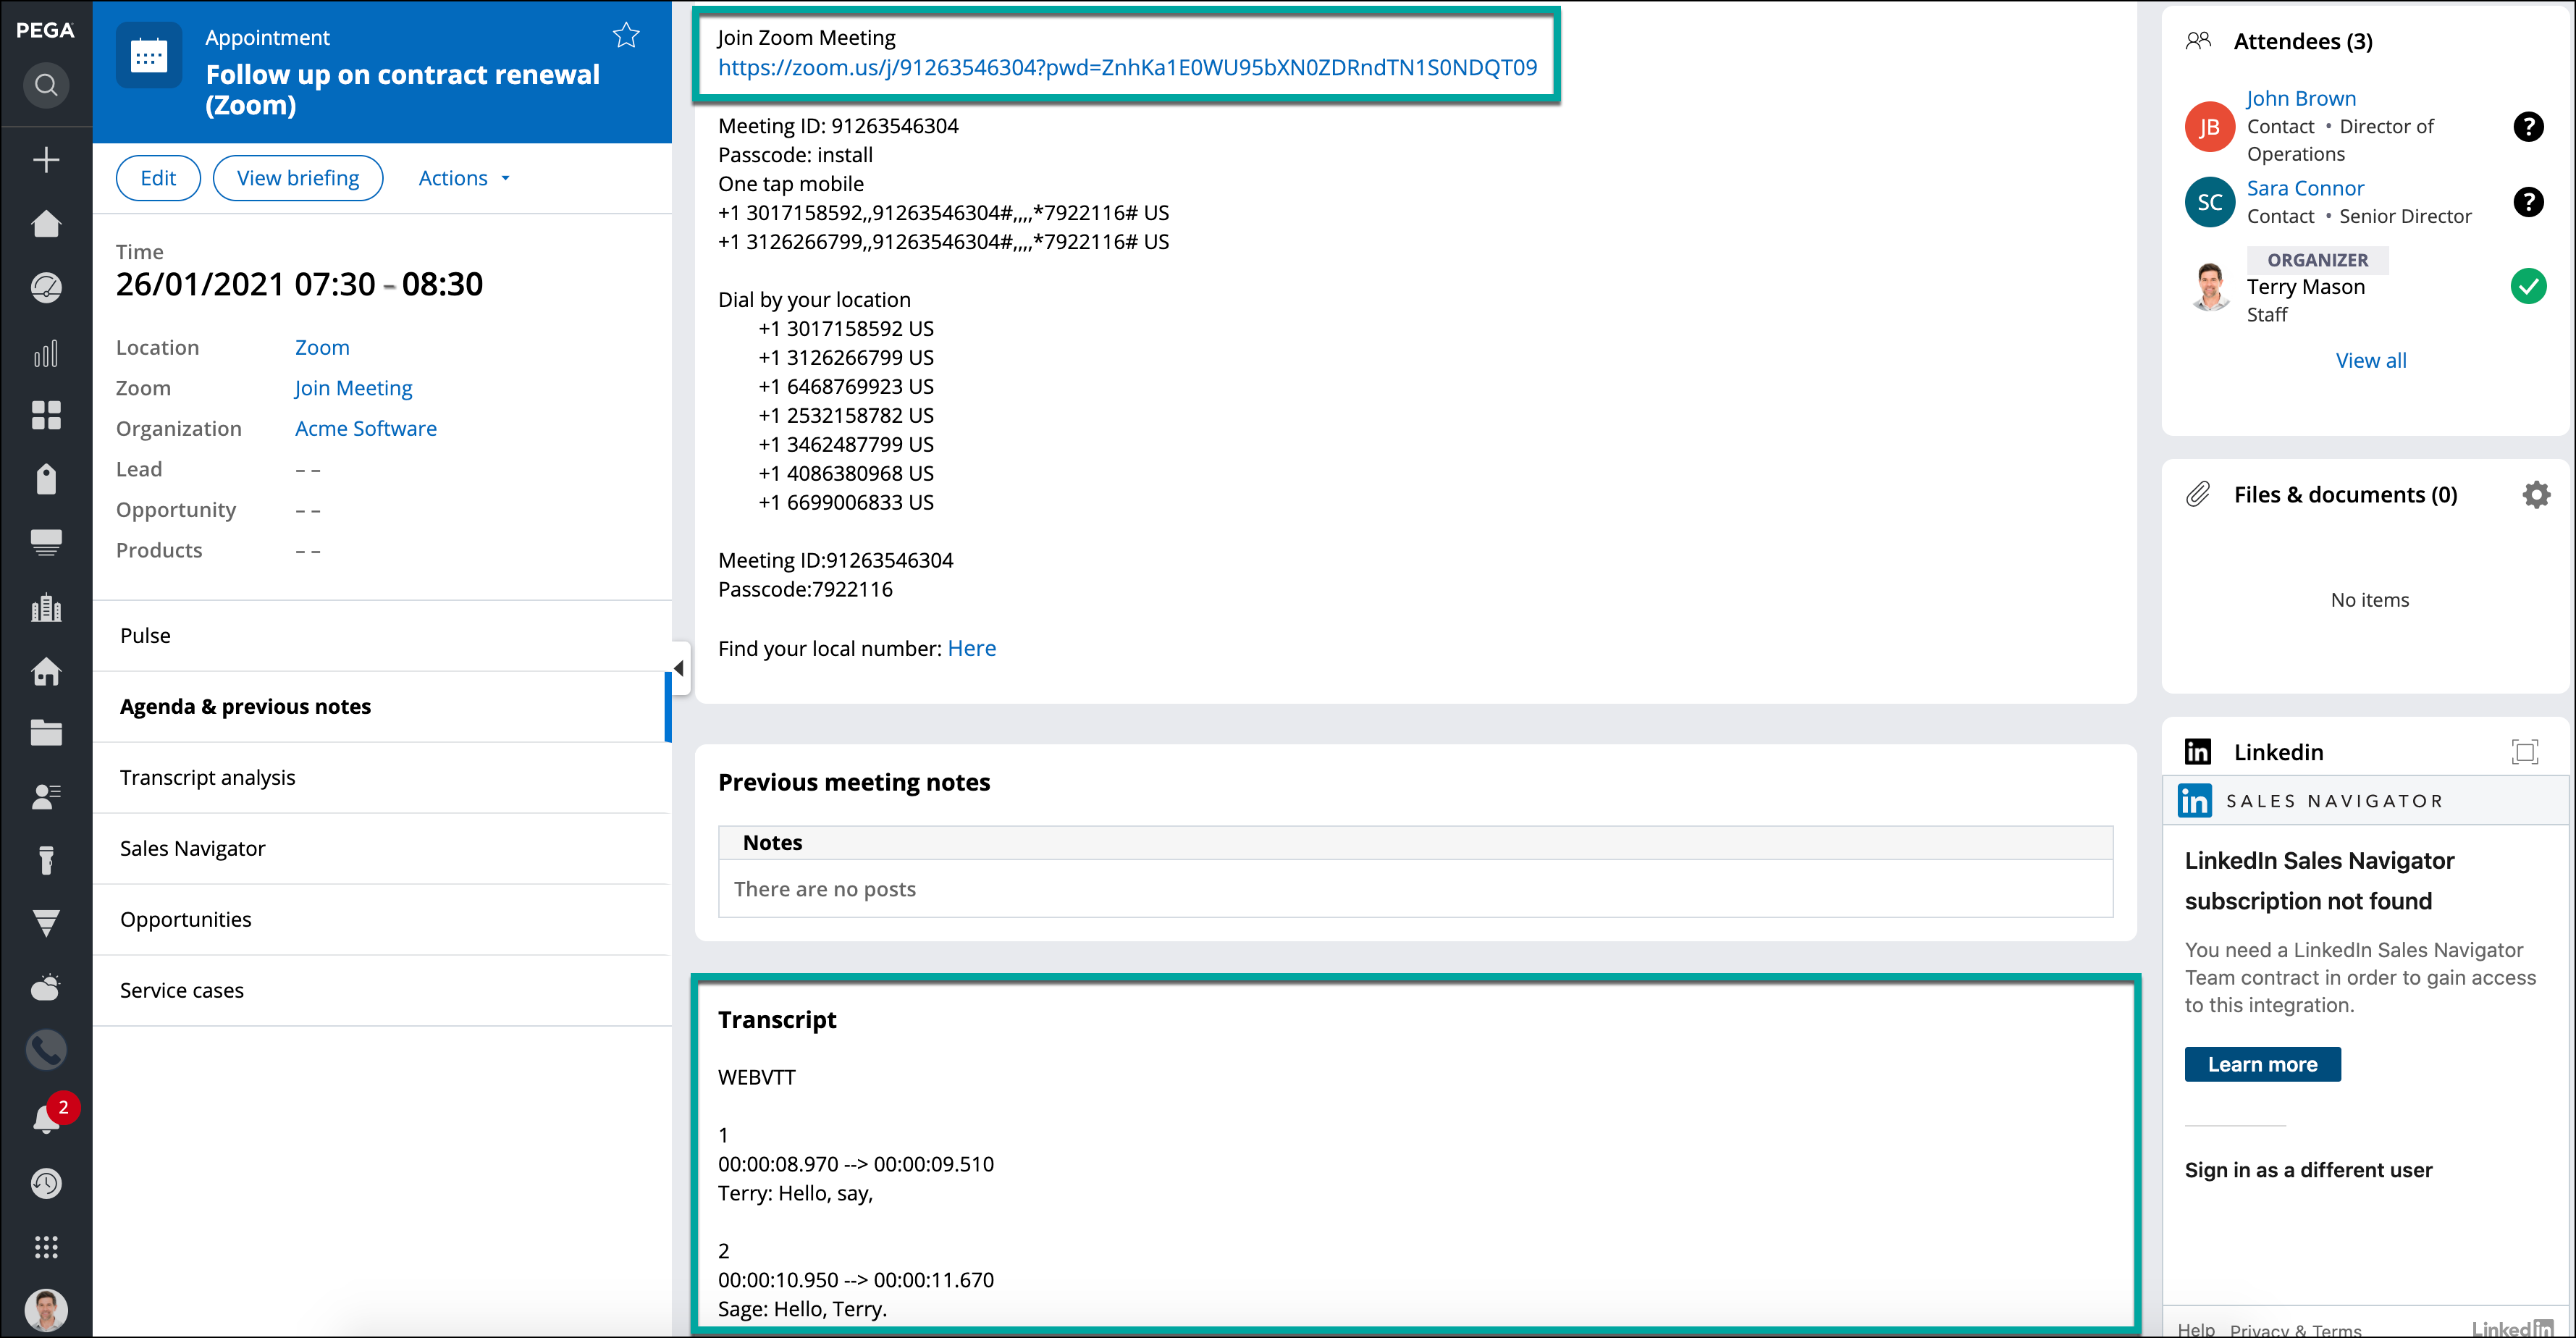
Creating meetings in Zoom
After you configure, authenticate, and test your Zoom connection, as a sales representative, you can use Zoom to schedule appointments.
- In the User portal navigation pane, click .
- Enter the meeting subject.
- In the Add Virtual Meeting list, select Add Zoom Meeting.
- If you are not logged in to Zoom, click Connect to Zoom, and then enter your log in credentials.
- Enter the meeting start and end dates.
- Enter the meeting body text, for example, the meeting agenda.
- Optional: To provide additional background information about the meeting, upload attachments.
- Invite attendees by clicking Add attendee, and then enter or select a contact.
- Include the purpose of the meeting by clicking Add opportunity, and then enter or select an opportunity.
- Click Send.
Previous topic Integration with Microsoft Power BI Next topic Configuring ON24 Platform integration